Skill Level: 2 (beginner)
This project is simple yet satisfying, and you’ll love the end result.
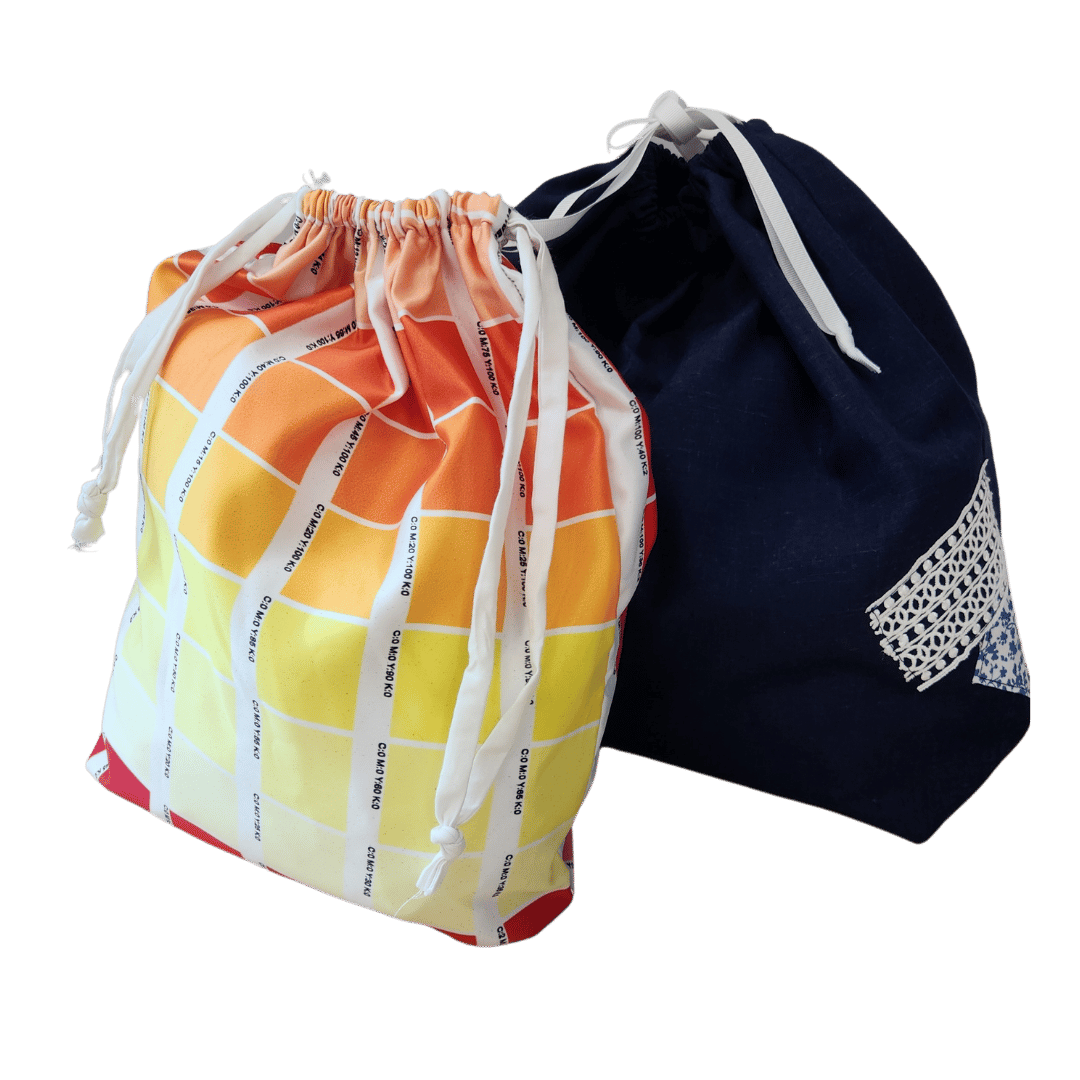
Create a versatile and chic drawstring bag that’s perfect for on-the-go storage or a thoughtful handmade gift!
Fun fact: Drawstring bags have been around since ancient Egypt, where they were used to carry money and valuables—proving that good design never goes out of style!
What you need
- Medium-weight fabric (minimum 0.3 meters)
- Ribbon/Cord – 1 meter
- Matching thread
Cutting dimensions:
- Two ribbon/cord pieces, 50cm long
- 58cm x 23cm x 1 OR
- Two fabric pieces 30cm x 23cm
Construction
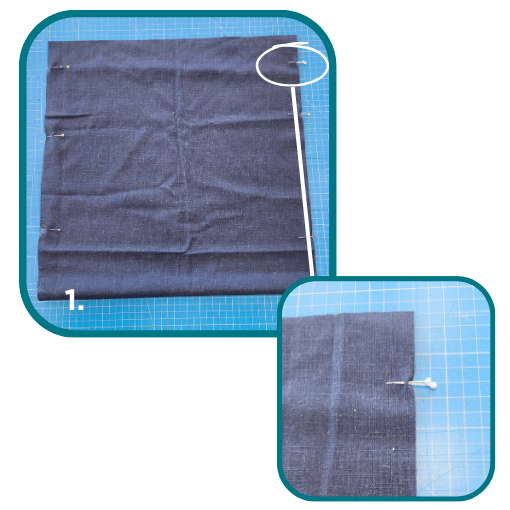
- Layer the two pieces with the right sides together and align the edges. Leave 5cm from the top edge on both sides and pin all around.
- Quick tip: Place 2 pins close together to indicate where to start
- Sew along the pinned edge (leaving 5cm from the top edge).
- Overlock edges (leaving 5cm from the top edge).
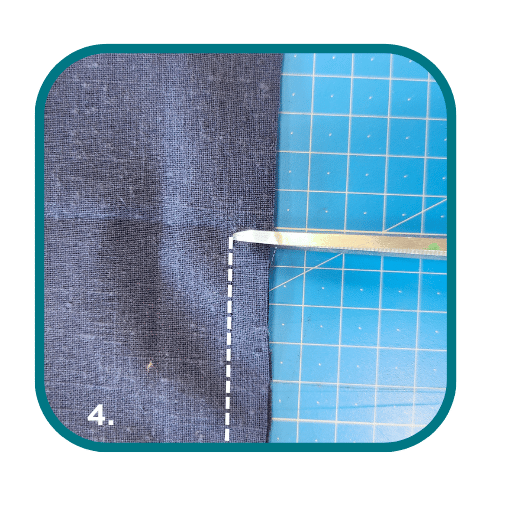
- Make a small slit in the seam on both sides, at the point where you have started the stitches (cut to, not through the stitch line)
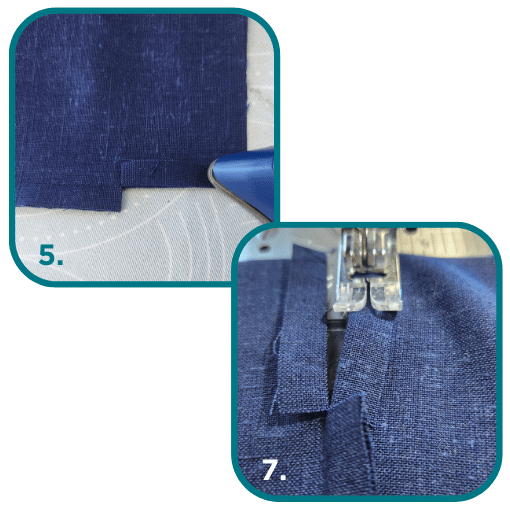
- Fold the seam towards the wrong sides and press.
- This has to be done to the seams on both sides.
- 6mm top stitch
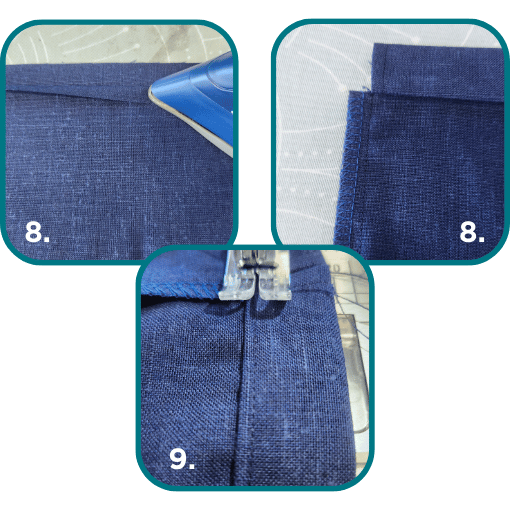
- Fold the upper raw edge towards the wrong side by 1cm and press. Fold again so the folded edge meets the clipped seam
- Edge stitch along edges forming a casing for the ribbon.
- Overlock the raw edges
Finish off
- Optional: To create a square base:
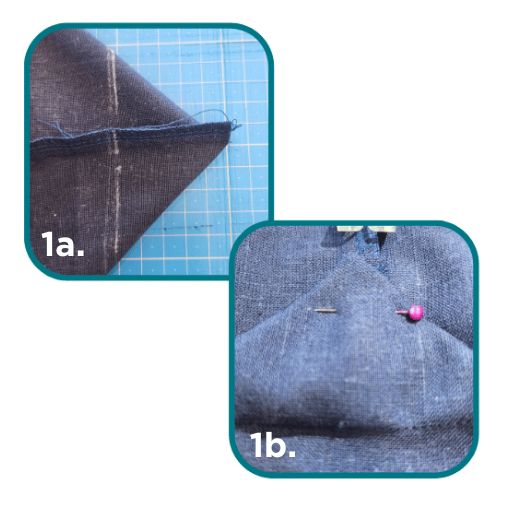
- a) Pull the front and the back piece apart at the bottom corner of the bag and align the side seam with the bottom seam. Sew a line 5cm from the corner as shown above. Make sure to back tack at the start and finish.
- b) Fold up the triangle and stitch it to the side seam by running a seam down the centre
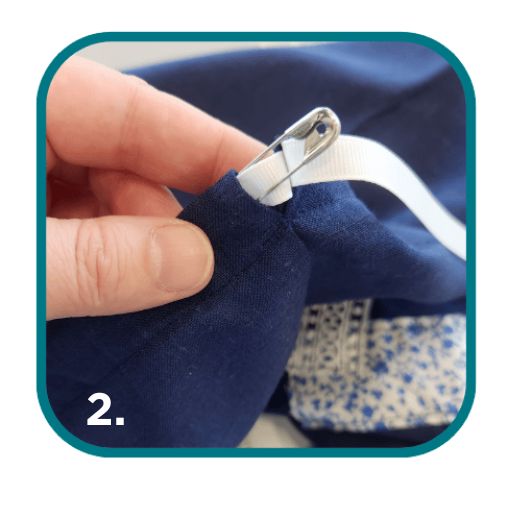
- Insert the ribbon through one end of the casing, using a safety pin. And continue inserting the ribbon into the casing all the other side. Knot the ribbon ends together
- Next, take the other ribbon and insert it through the casing from the opposite side and all the way around knotting ribbon ends together
- Heat seal the ribbon ends
Creative Community Space – Sewing School Program
At Creative Community Space & A Fitting Connection, we’re committed to creating experiences that not only teach skills but also instil a sense of purpose. Our programs and classes are thoughtfully designed to cultivate patience, accuracy, mindfulness, fine motor skills, creativity, and a keen awareness of waste.
It’s easy to dive into a project that might be too advanced for your current skill level. That’s why we’ve developed a program that sets our students up for success. Each of our self-guided sewing instructions is labelled with a skill level (starting at 1), so you’ll know whether a project will be a breeze or if it’s one that would benefit from the supportive environment of our sewing classes at Creative Community Space. Explore our classes here.
We can’t wait to see what you’ll create with us!
With purpose,
The Creative Community Space & A Fitting Connection Team


